For kids who grew up in the 90s, the Mighty Morphin’ Power Rangers were a quintessential part of their childhood. So much as to spark arguments over who would be which ranger on the playground…
From action figures to recently having their own specialty donuts at Krispy Kreme, some of us can’t get enough of these butt-kicking teenagers with attitude. These DIY perler bead Power Rangers coasters would be a great home decor power up for any die-hard fan. You could even add a personal touch by making them your own ranger colors. Now it’s coaster makin’ time!
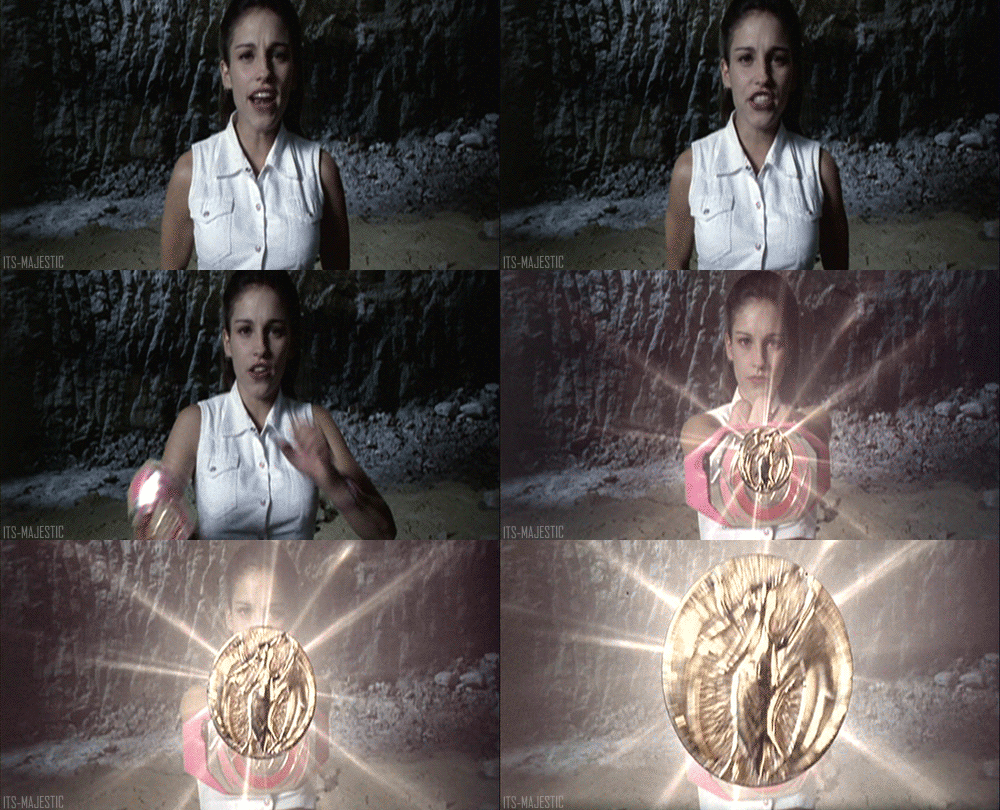
(Saban Entertainment)
What you’ll need:
- Perler beads – Each Power Rangers coaster requires 204 beads for your ranger color, 95 white beads for the belt and diamond shapes, and 1 gold bead for the buckle.
- A large pegboard
- Wax paper
- Iron
- Tweezers (optional)
- Patience
Directions:
- You can create the basic shapes within the coaster by following the numbers on the sketch below. The numbers indicate the TOTAL number of beads in that row. You can adjust to your liking, but this is more or less the shape that resembles their costumes.
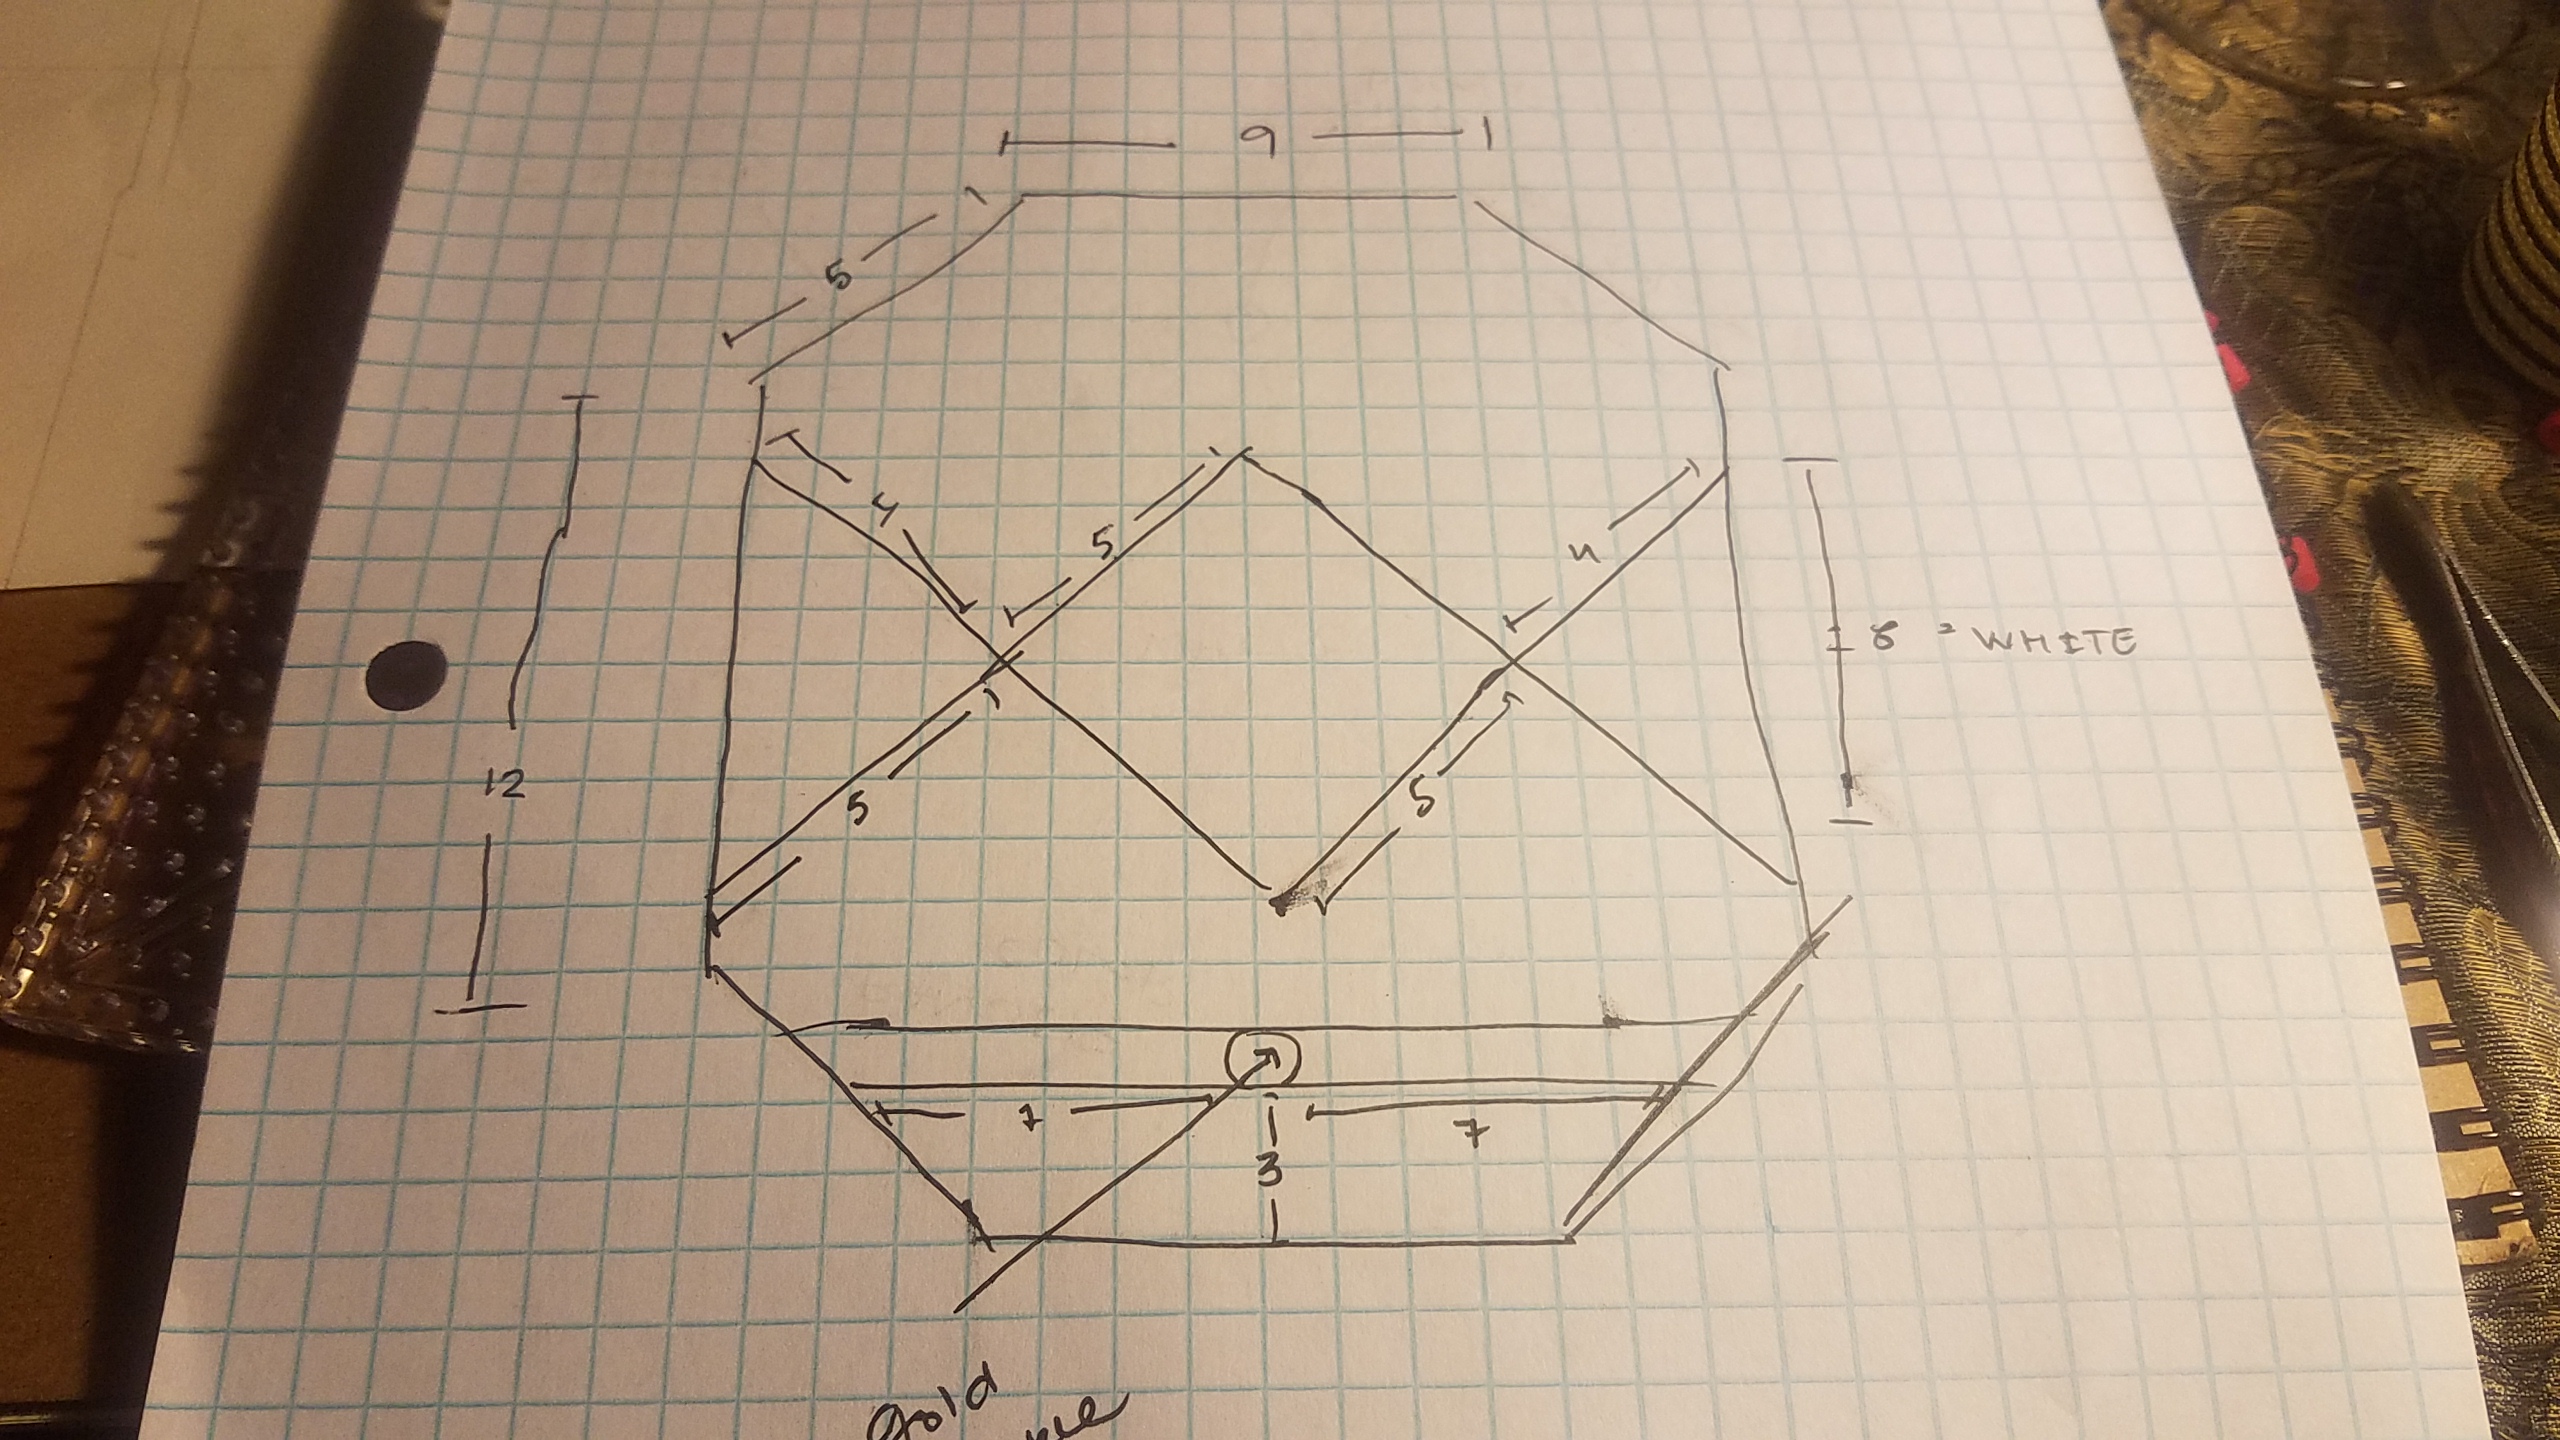
2. Place the beads into desired shape. Be careful when placing your beads as you don’t want to ruin your hard work by knocking some over. I used tweezers to help me place most of the perler beads on the pegboard.
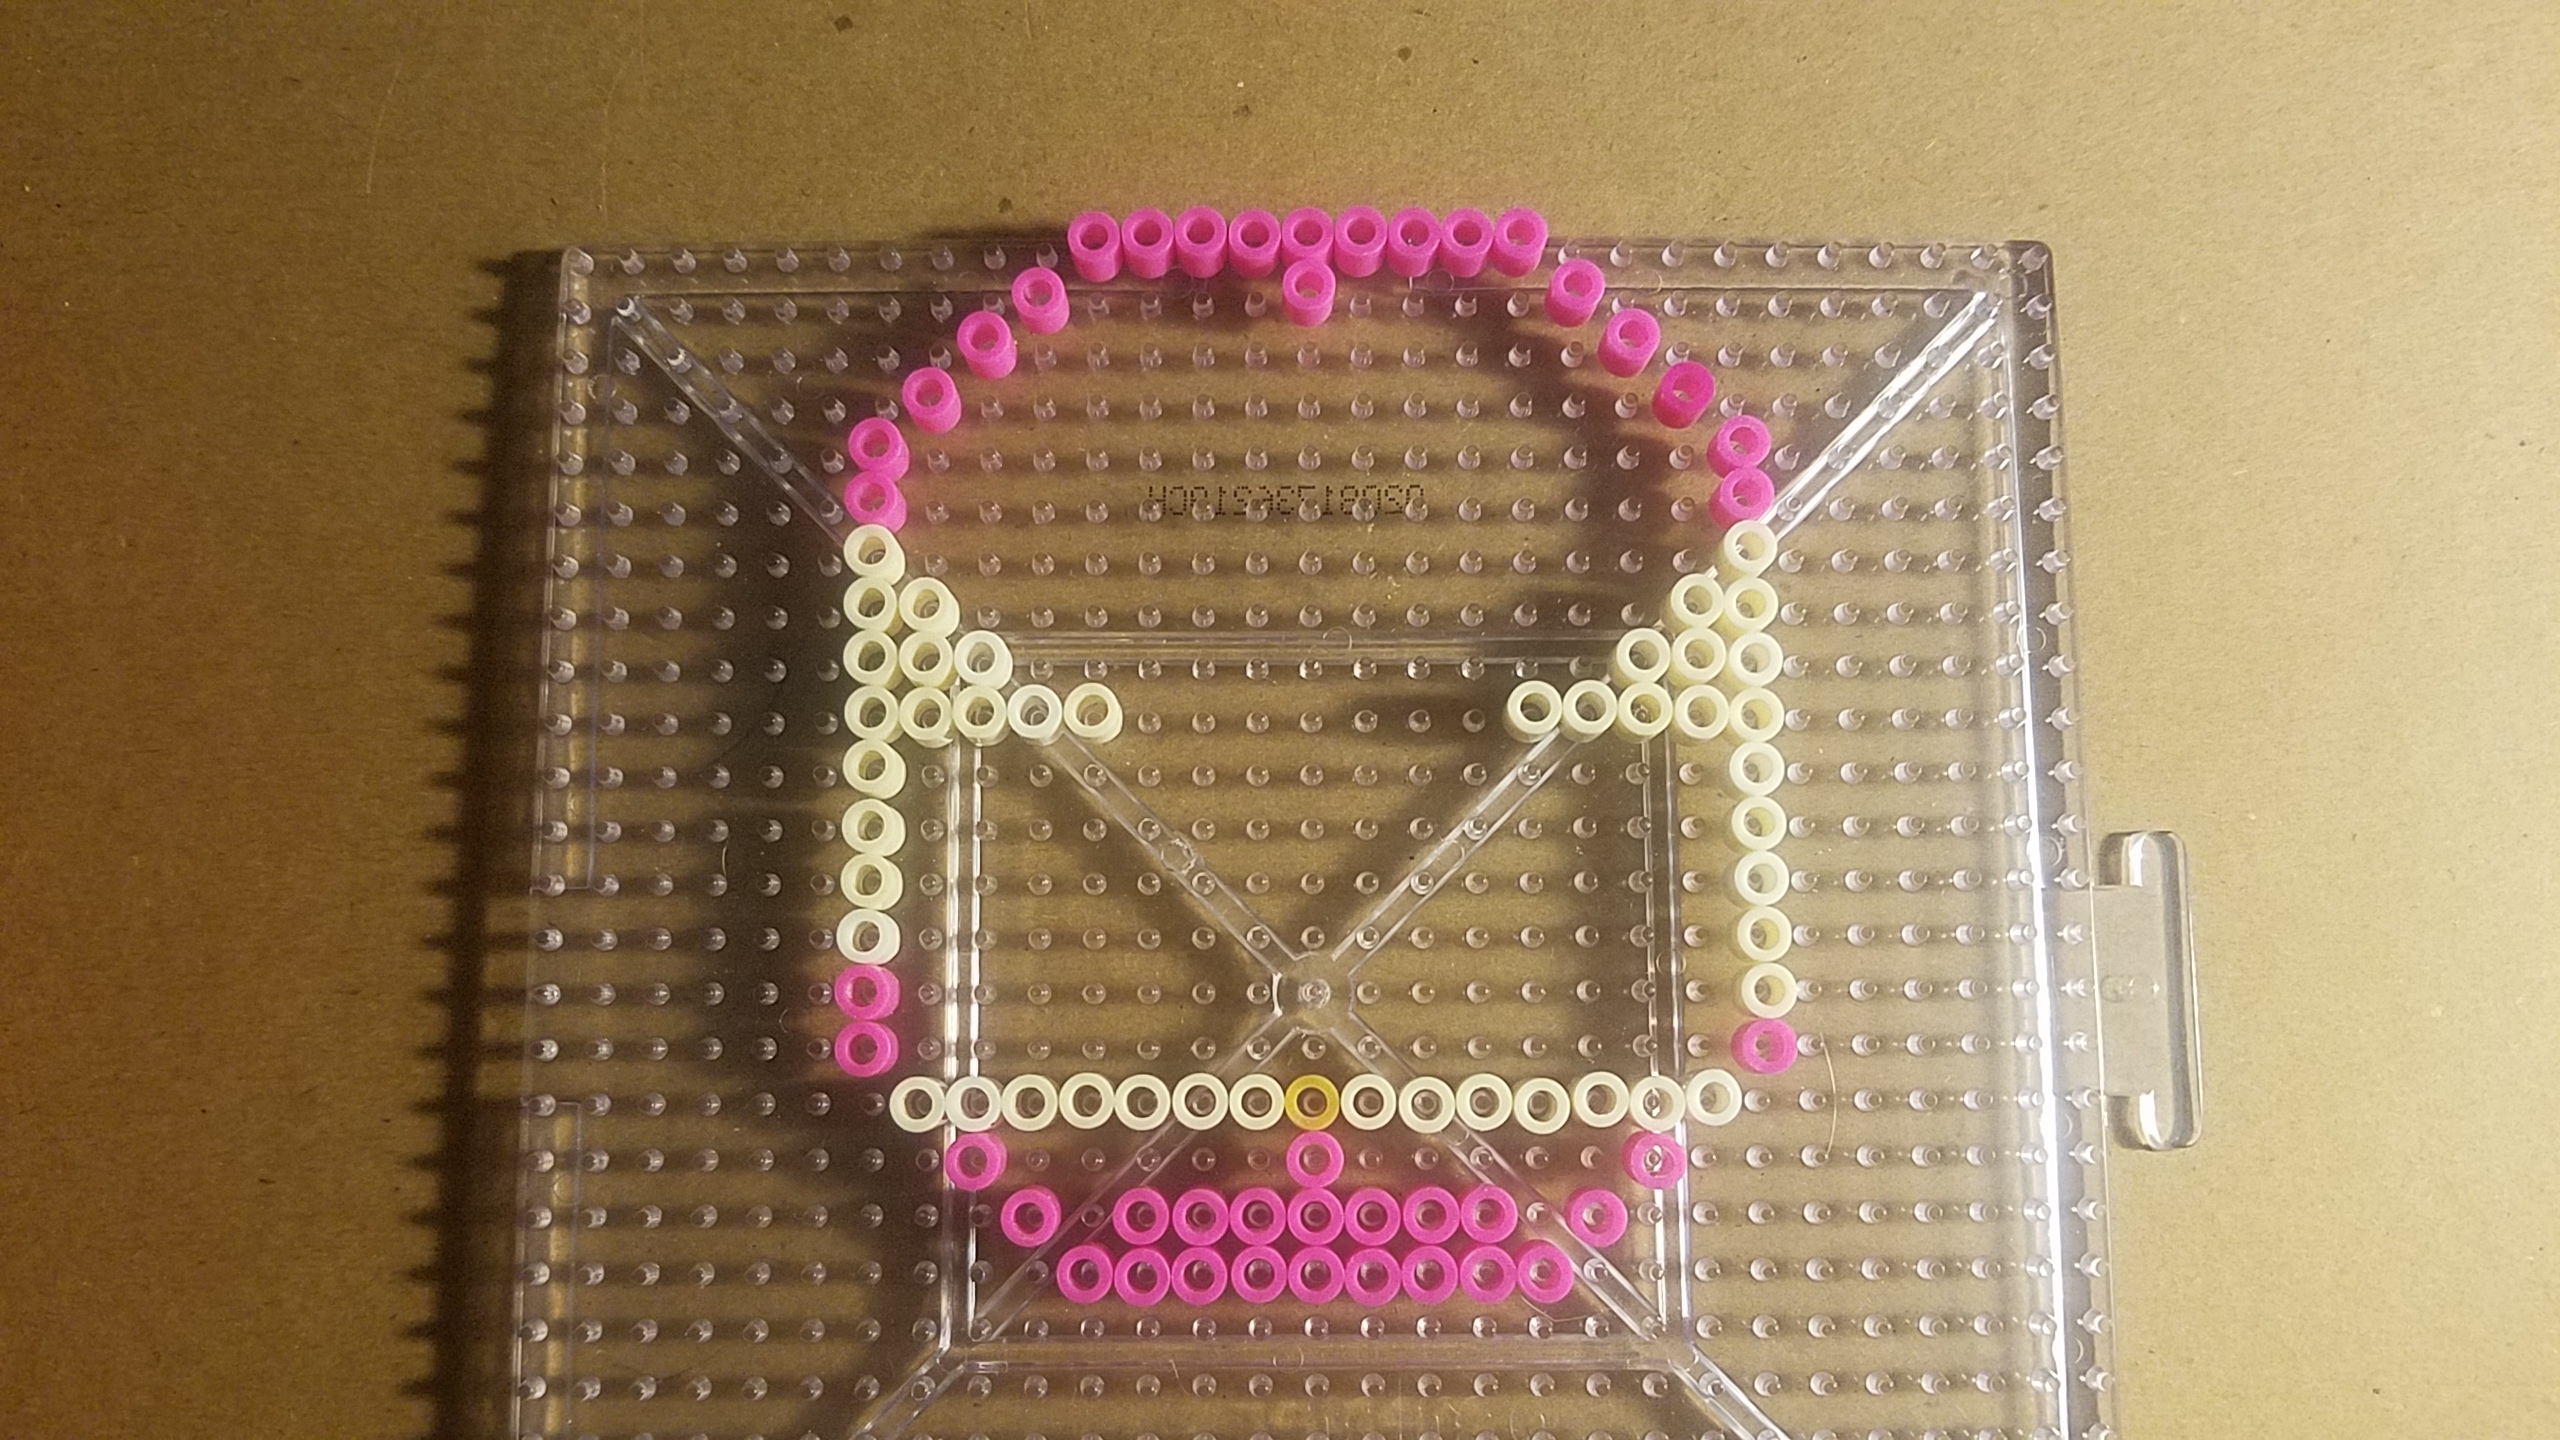
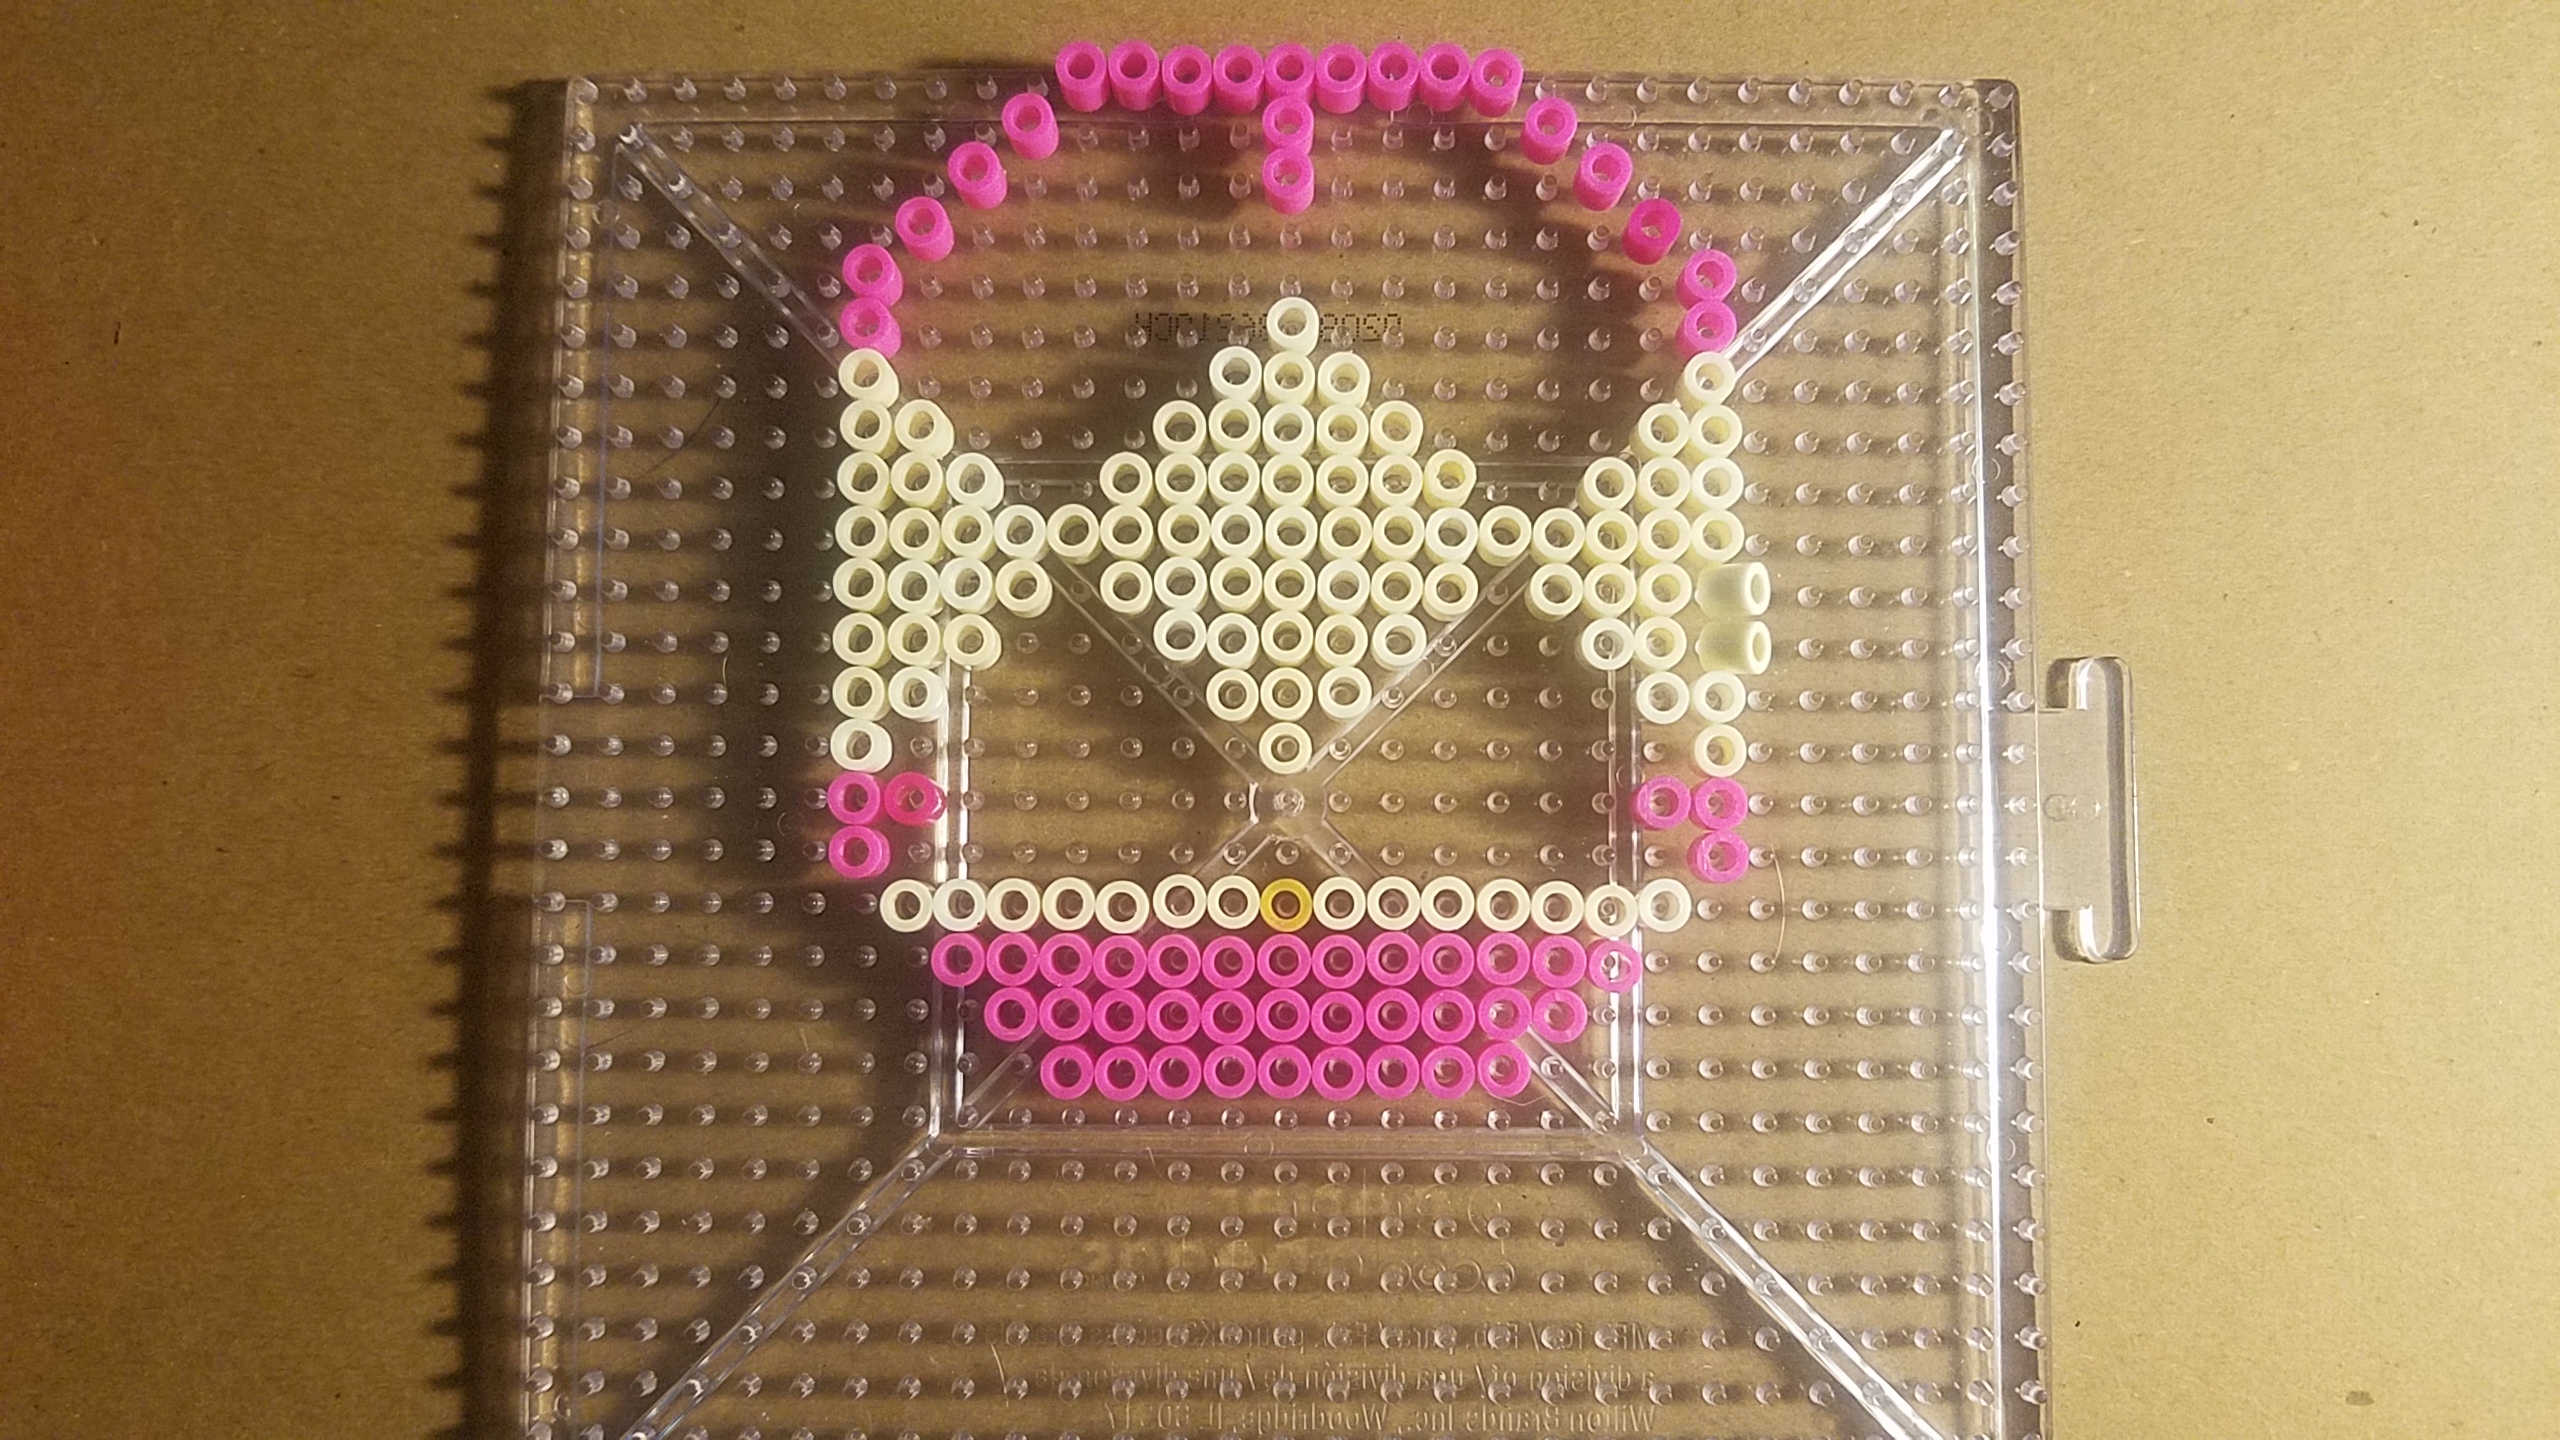
3. Once you have your whole shape down, you’ll be ready to iron! Place your wax paper on top of your creation. DO NOT ADD WATER TO YOUR IRON. I set mine to my iron to medium heat. When your iron is nice and hot, gently iron your perler beads in circular motions. Try to evenly distribute the heat. Iron until the holes all the holes shrink evenly. Do not lift the wax paper after ironing until you are sure the beads have melted enough to fuse together. Removing the wax paper too early could cause the beads to fall out of their place, making it difficult to put back together. When done ironing, let the coaster cool down for a couple of minutes.
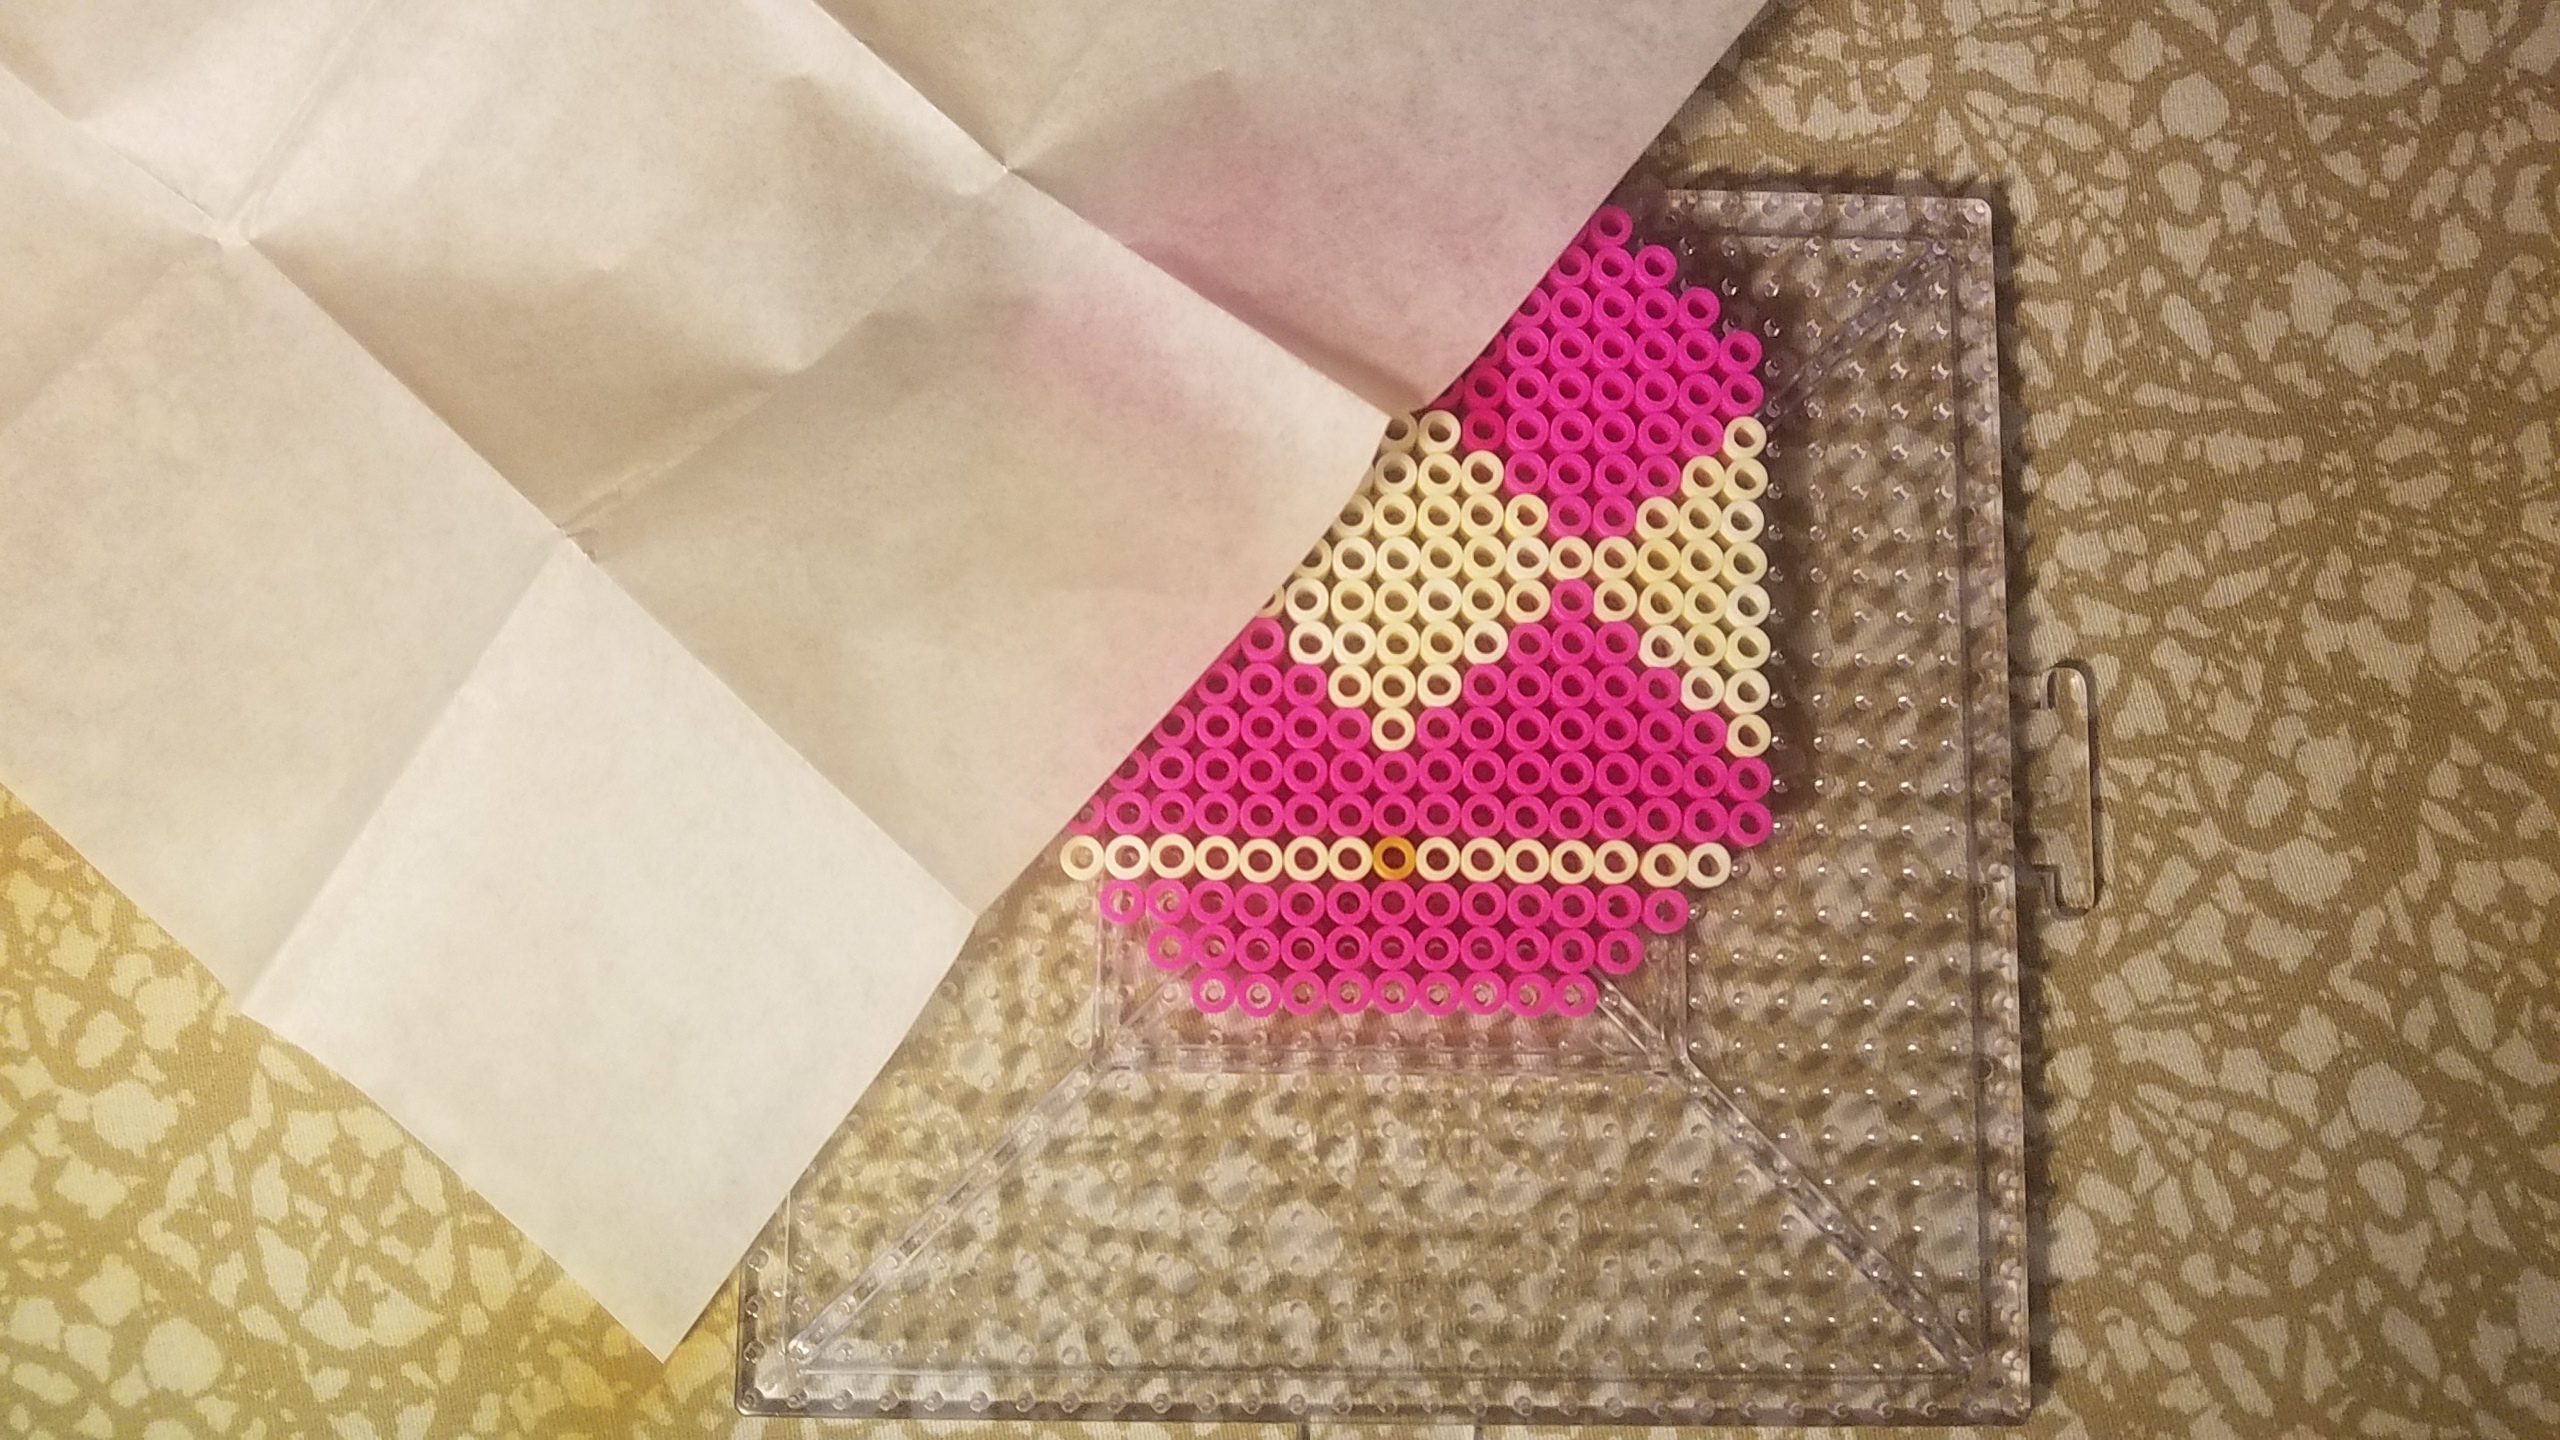
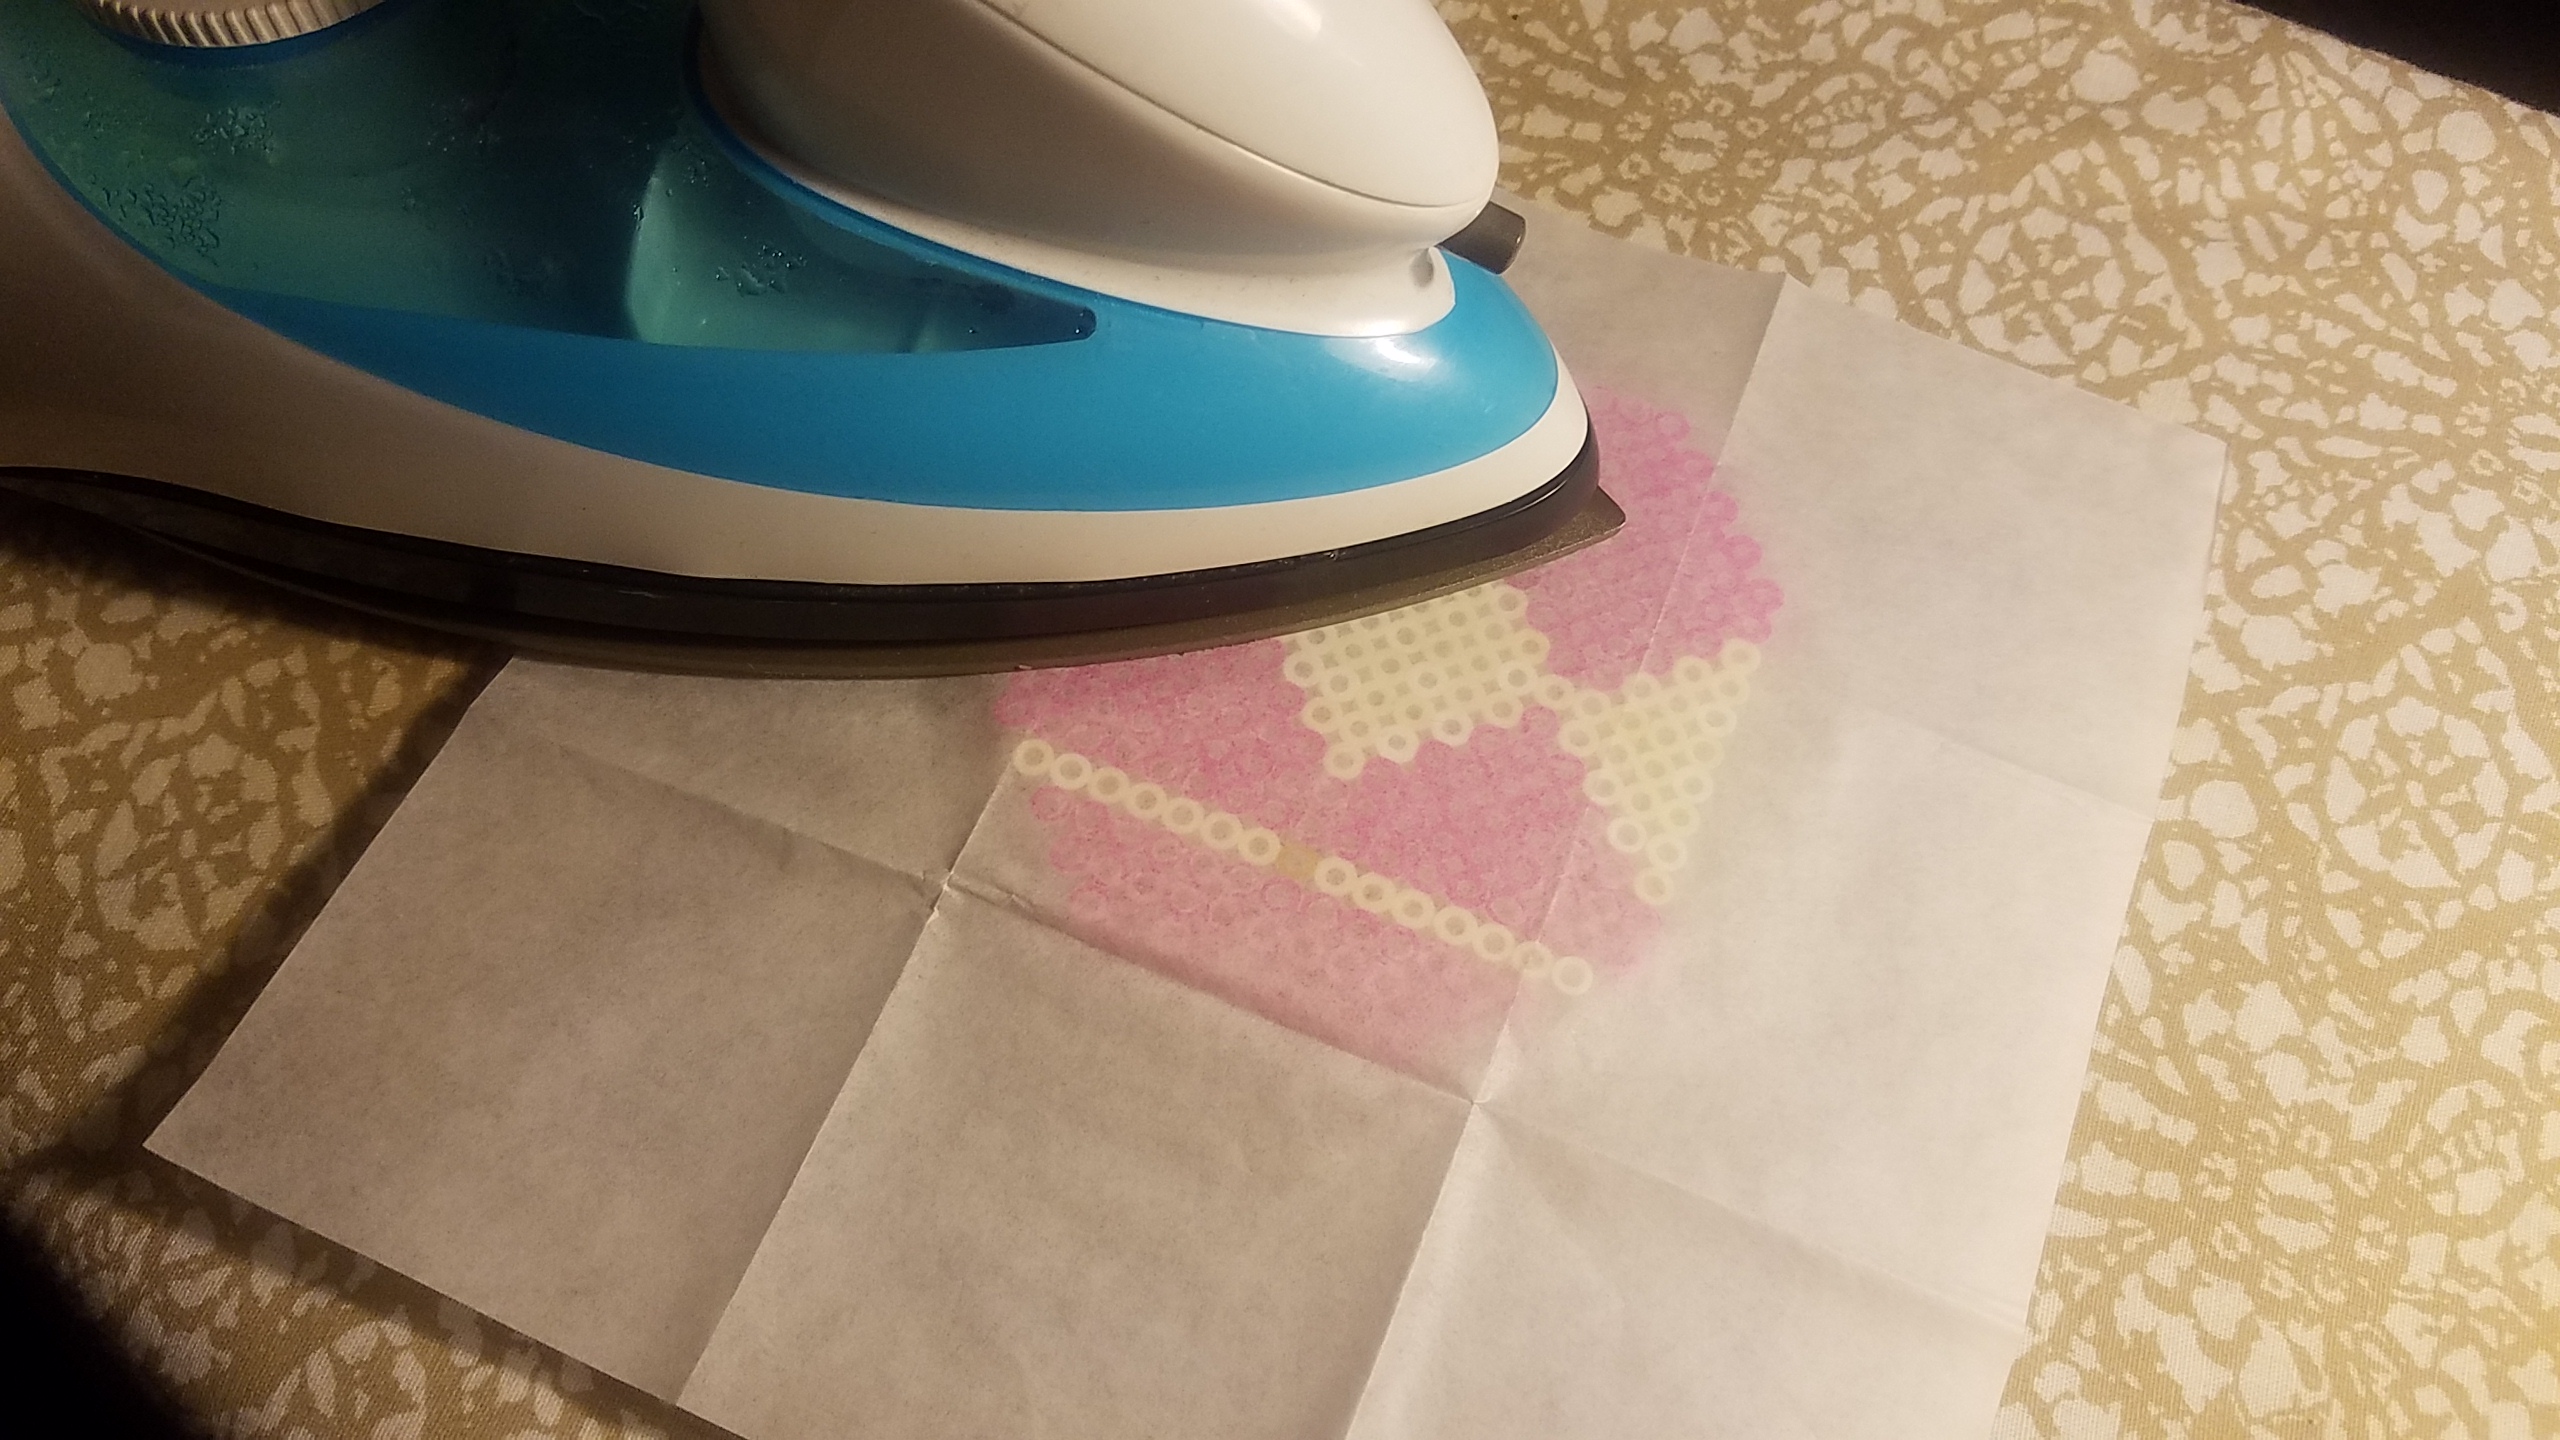
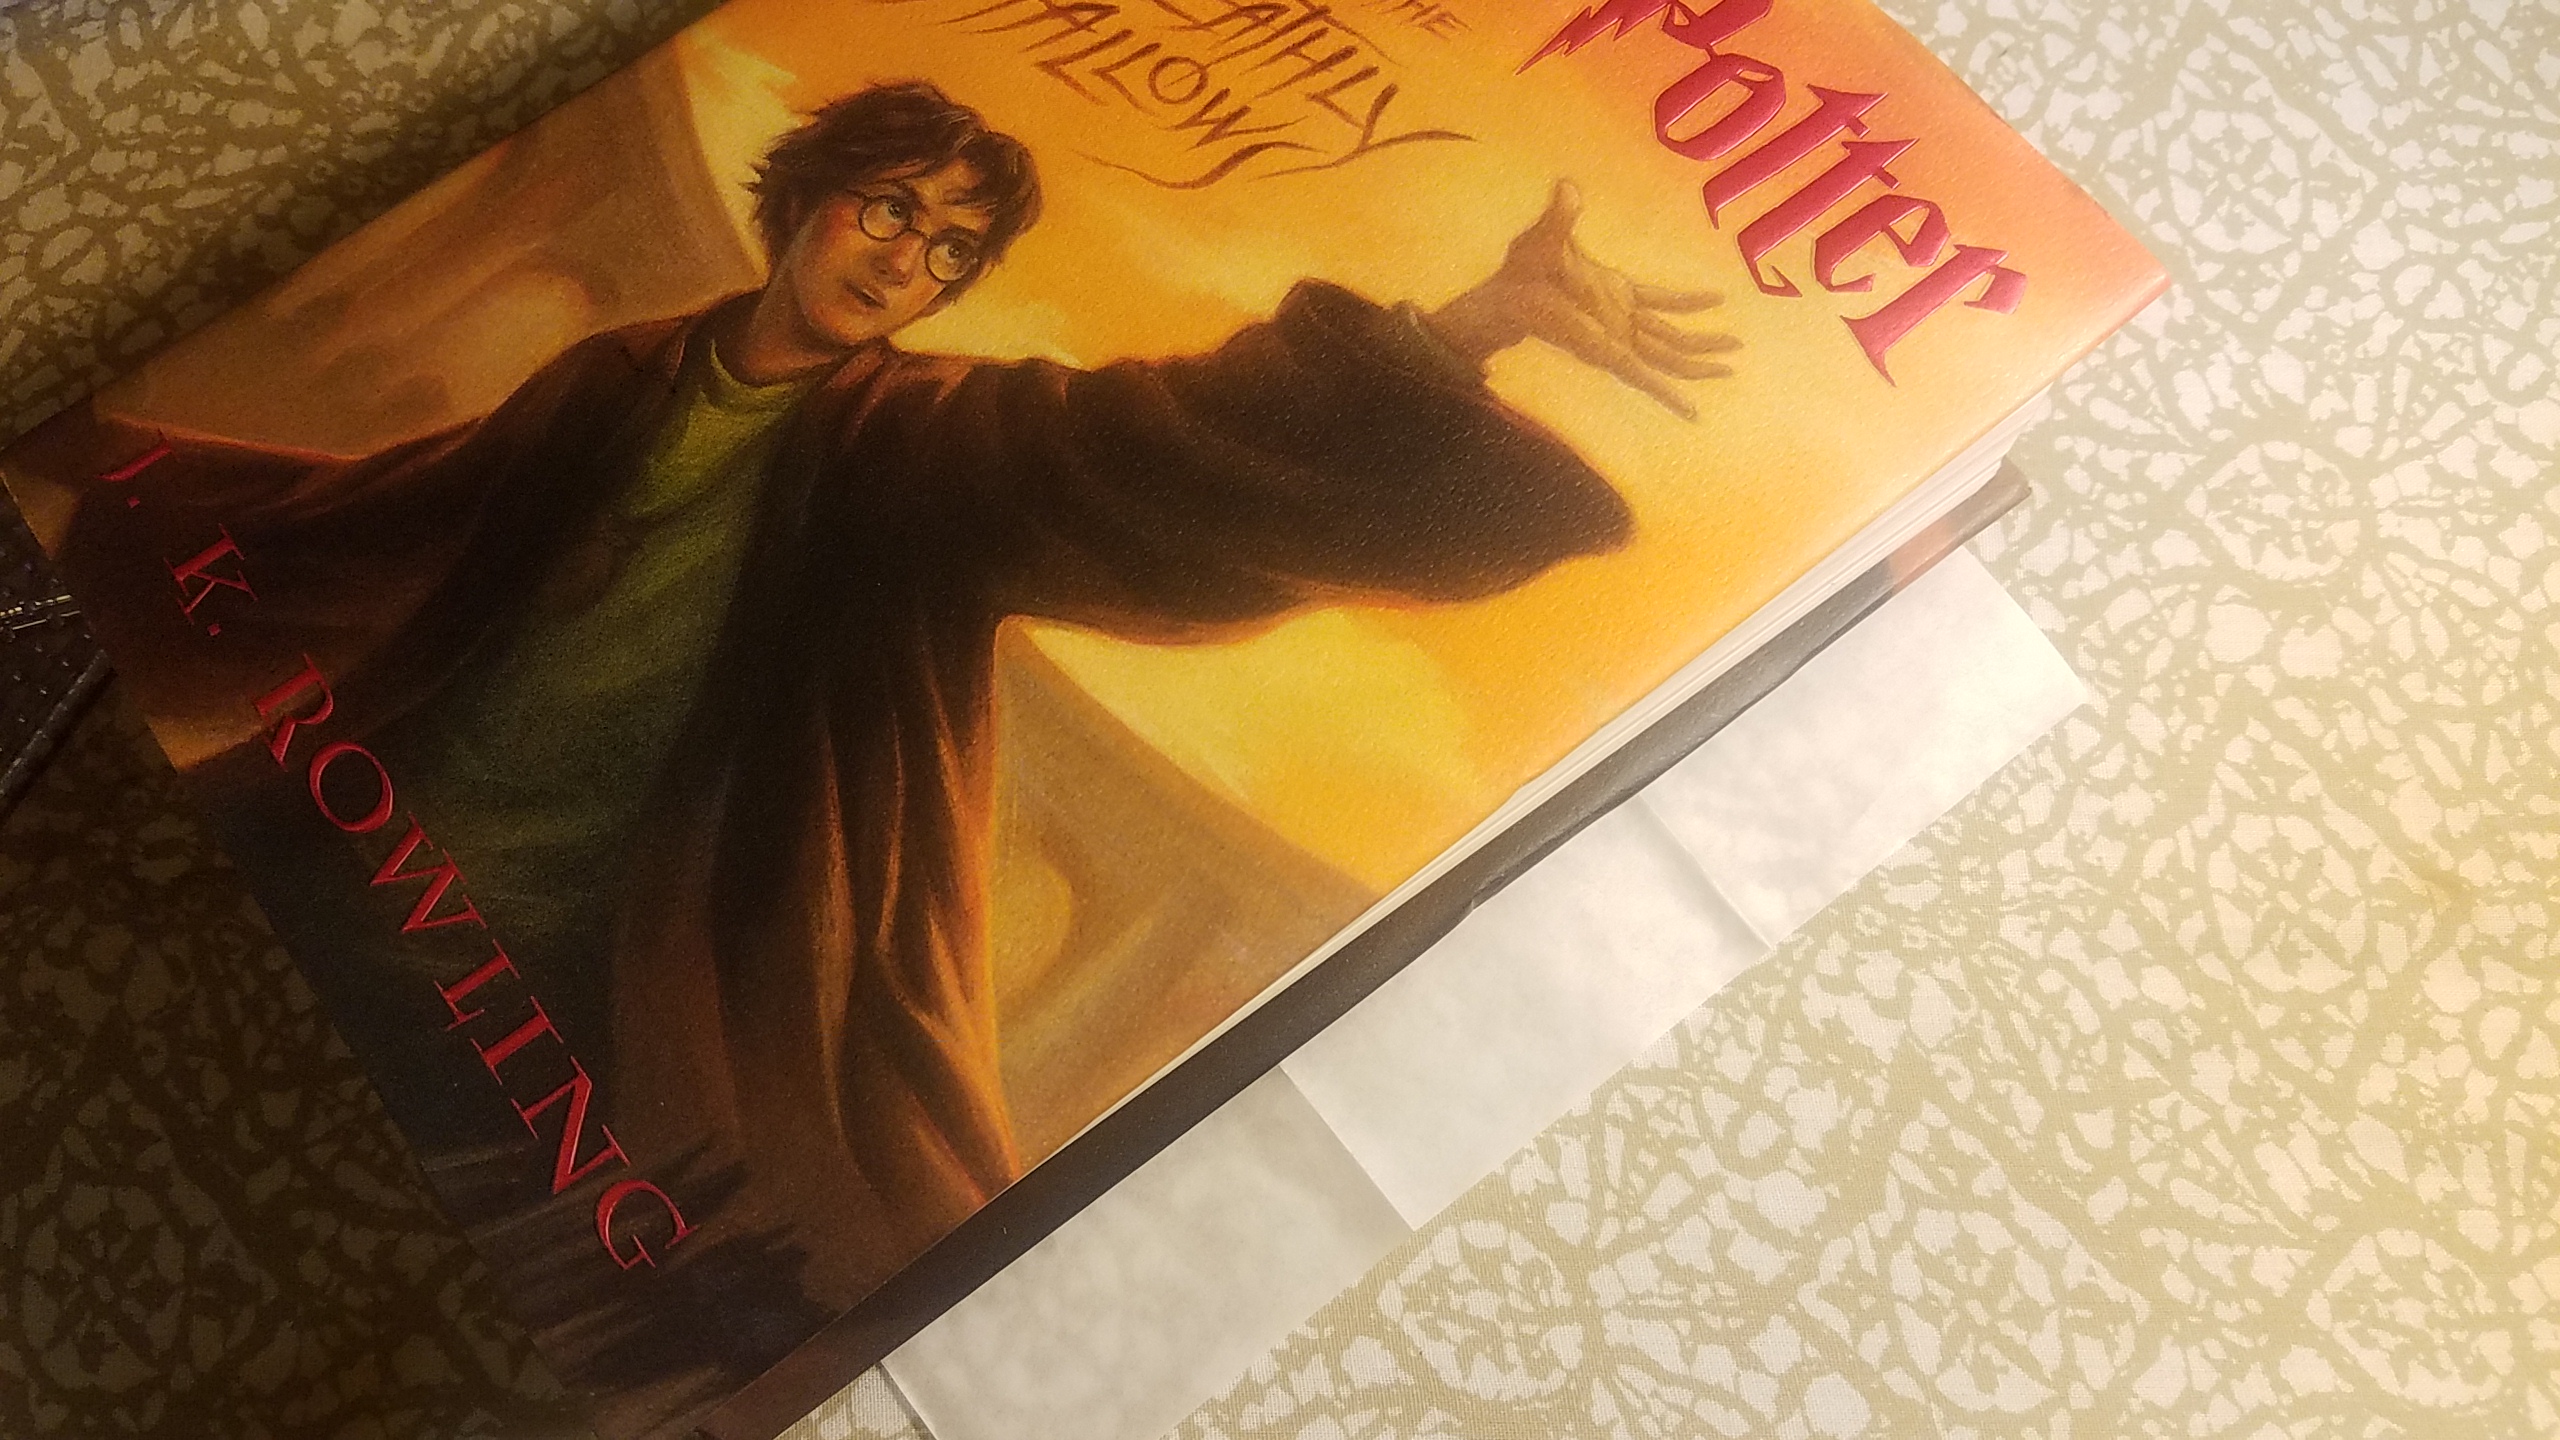
4. To prevent warping, place a heavy book on top of your coaster for a about 5-10 minutes. As you can see, Harry Potter and the Deathly Hallows was very suitable for this. You can leave the wax paper on or remove it if you’d like when flattening.
5. When you’re done, you should have something like this more or less. It may take a couple of tries to perfect your ironing skills. As you can see, I ran out of light pink perler beads, but managed to improvise. Repeat the process to create as many Power Ranger perler bead coasters your heart desires!
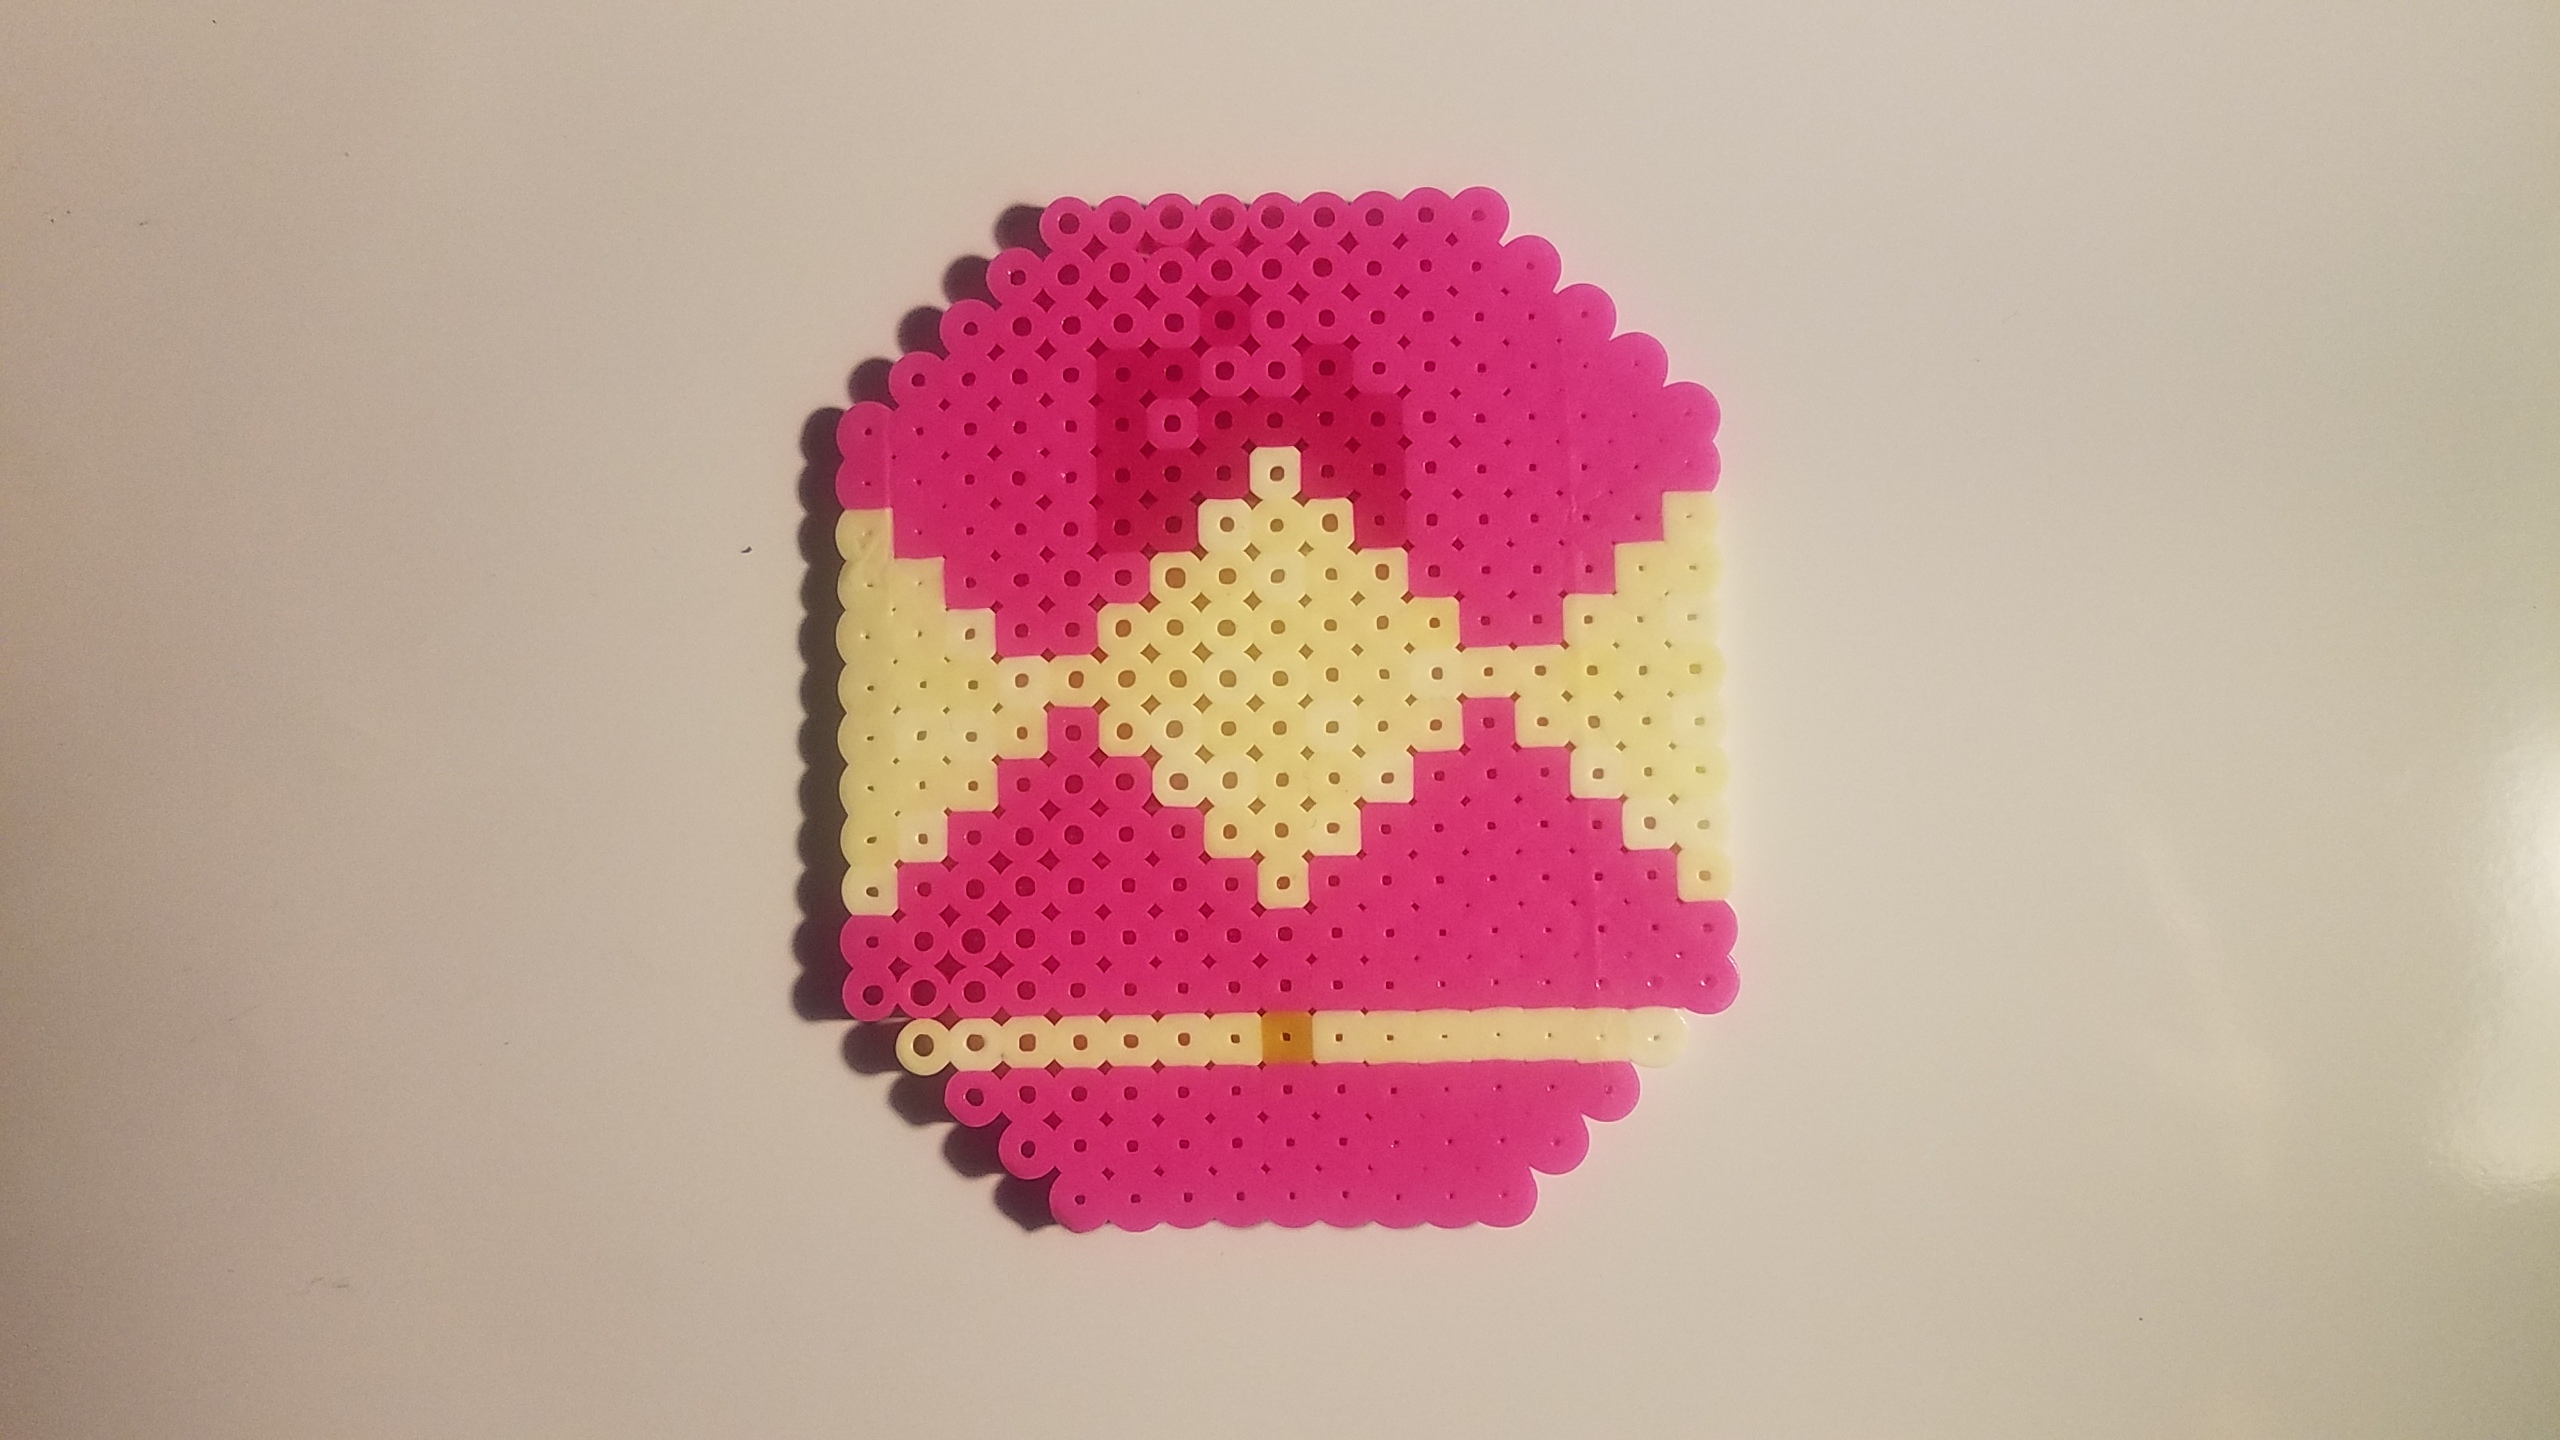
Pow! You can now easily elevate your hosting skills to ai yi yi awesome! Speaking of awesome, don’t miss out on September’s Loot Crate DX theme, ROBOTIC featuring the Mighty Morphin’ Power Rangers plus more!
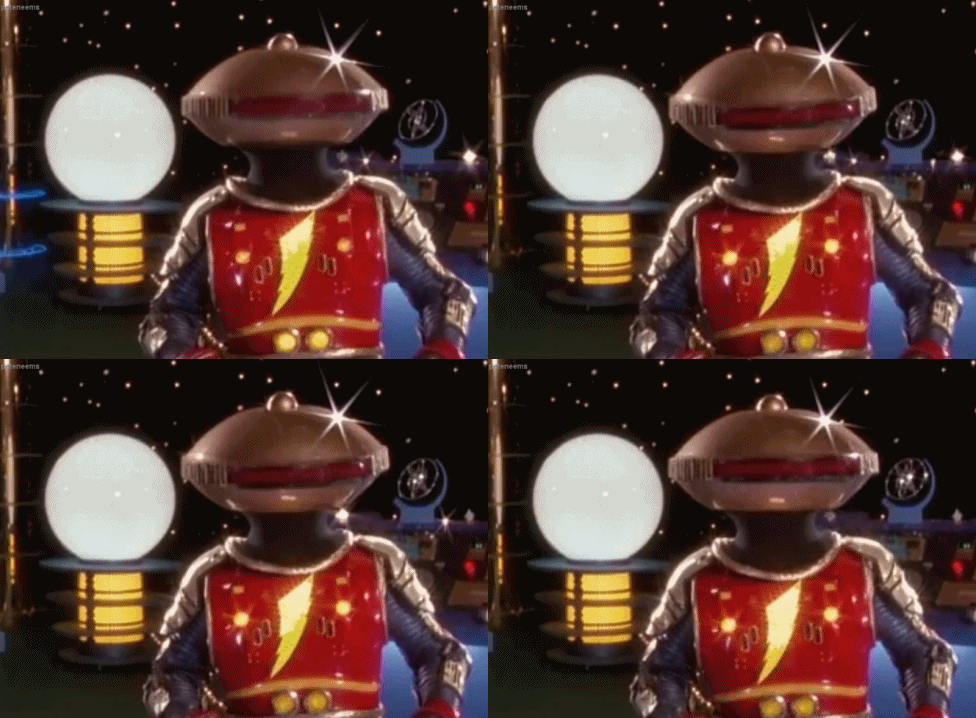
(Saban Entertainment)


